1. Once you have tags loaded into your printer, connect a network cable to the rear of the printer.
2. Connect the other end of the network cable into an available port on your network.
3. Plug your power adapter into the rear of the tag printer and plug the power cable into an available AC outlet.
4. Power the tag printer on by pressing and holding the power button for about 5 seconds and then release the power button.
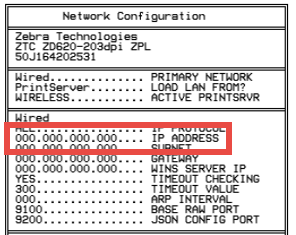
5. Once the tag printer has finished powering on, press and hold the Feed and Cancel buttons for two seconds and then release. This will print out a configuration page as shown below. Please note that by default, a new tag printer will obtain an IP address via DHCP.
6. Download the Zebra print utility here.
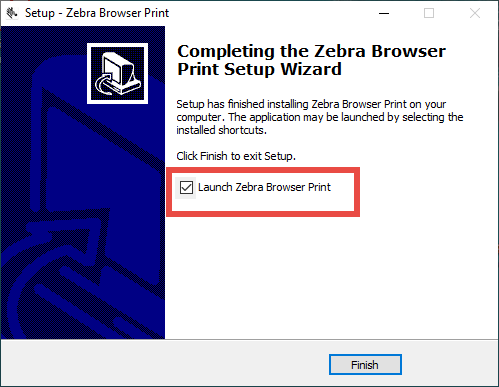
7. Double click the file zebra-browser-print-windows-v132489(.exe) to start the installation and click Next until you get to install. Then click Install. Make sure to keep the boxed checked for Launch Zebra Browser Print before clicking Finish.
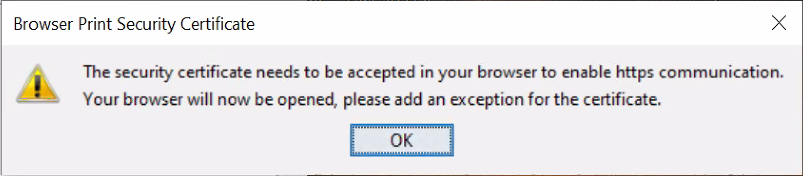
8. You will receive a message that security needs to be accepts. Click OK.
9. Then you will see a webpage showing your connection isn't private. Click Advanced and click Continue to localhost.

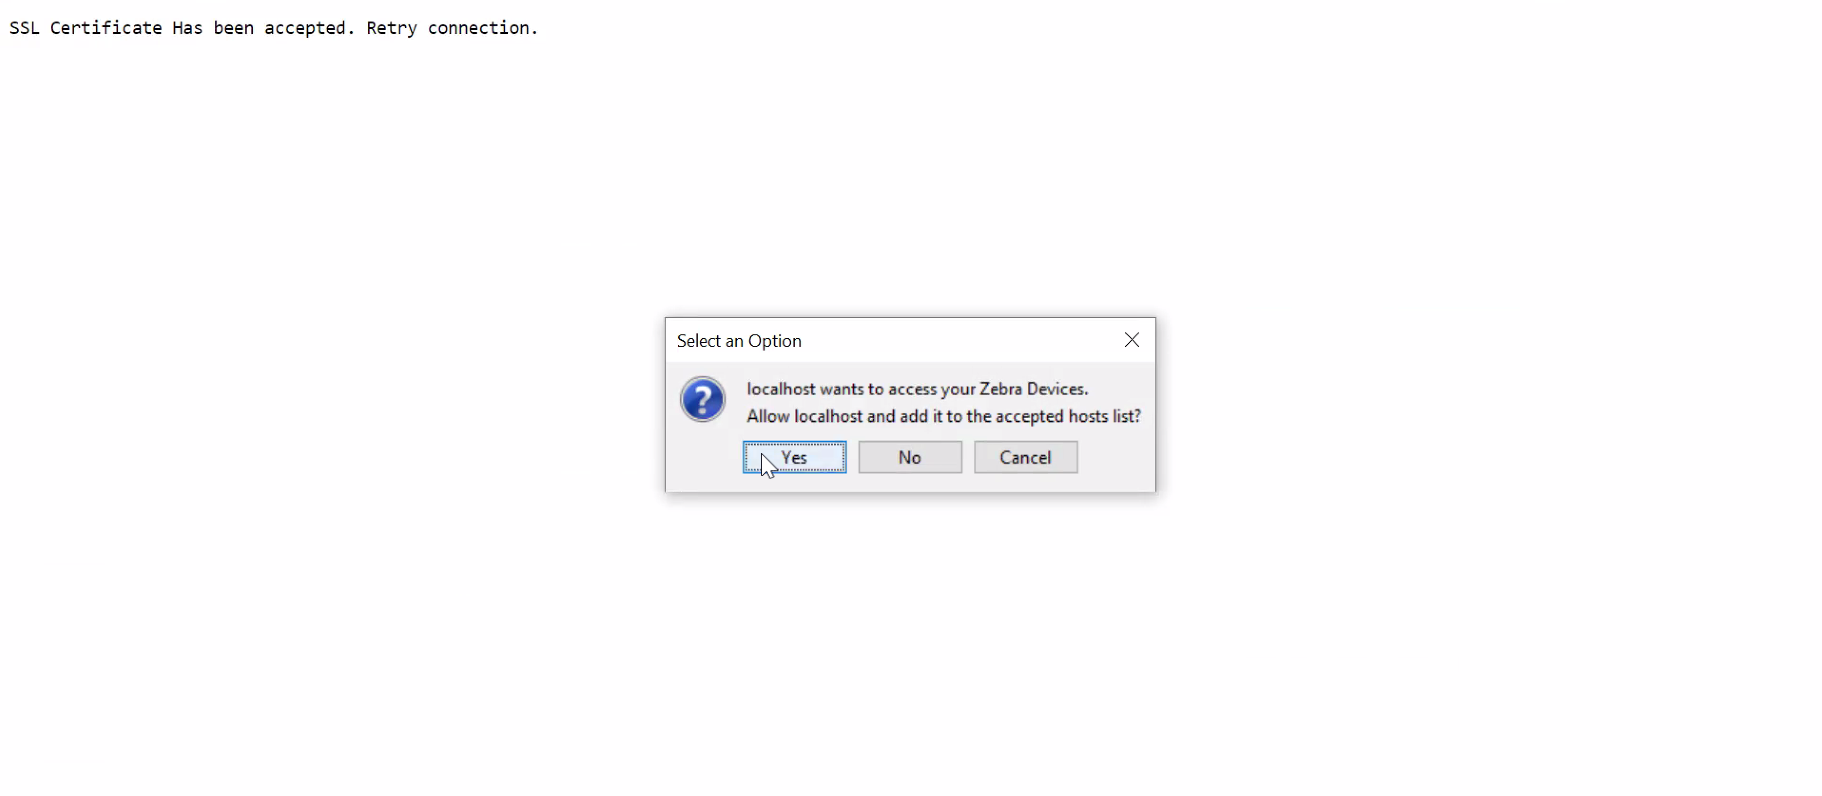
10. Select Yes to give your computer access to the Zebra printer.
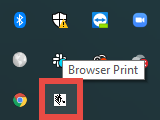
11. Open your task tray at the bottom right and select Browser Print.
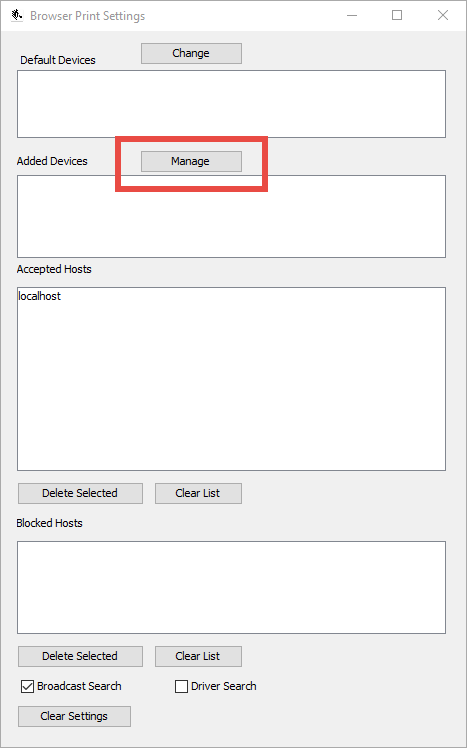
12. Under Added Devices, select Manage.
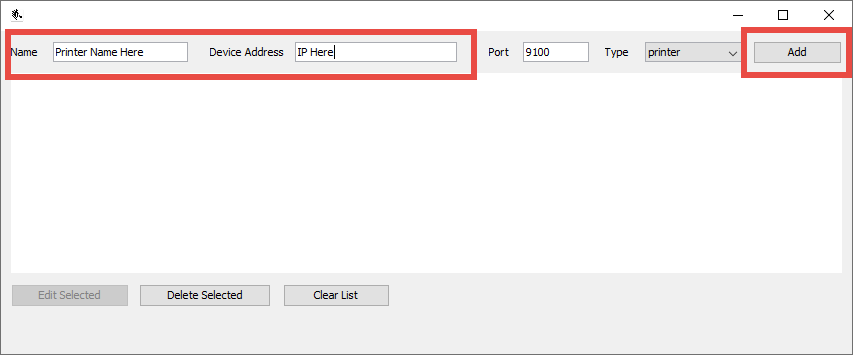
13. Enter any printer name as you would like it to appear. Then enter the printer's IP address (from step 5) for Device Address and click Add.
14. Login to your RedBeam account and go to the Assets page.
15. Check the box for any asset and click the Printer ![]() icon.
icon.
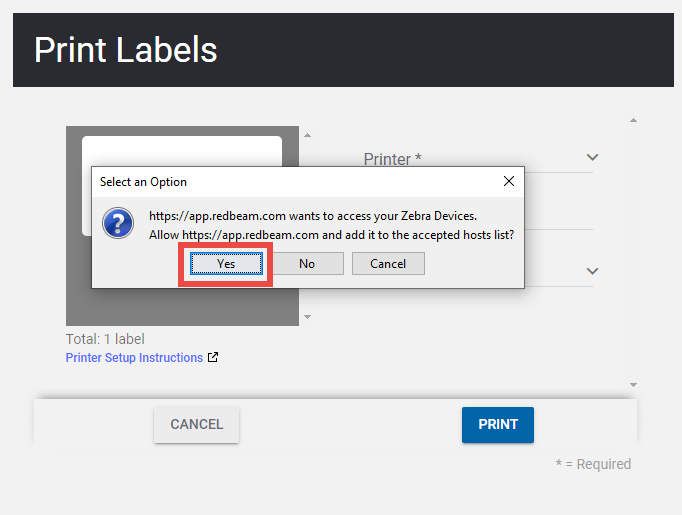
16. Select the printer from the dropdown.

17. Click Yes to allow RedBeam access to your Zebra printer.
Your printer is now configured to print barcode labels from RedBeam.