When taking a physical inventory, users will go from room to room in a building and scan or enter each asset found. This is typically much easier and more efficient using a purpose-built mobile device with a barcode scanner.
It is recommended to use the mobile Take function described in the Mobile Functions section of this document for this process. However, users can take an inventory on a PC or laptop by navigating to the Take tab.
A list of all assets will display in the grid until location values are selected.
Select the Company, Building and Room where the assets are found. If only one Company exists, only the Building and Room fields will display.
Once the Room is selected, only the assets currently assigned to that Room in the database will display in the grid, with Unfound assets defaulted at the top of the list.
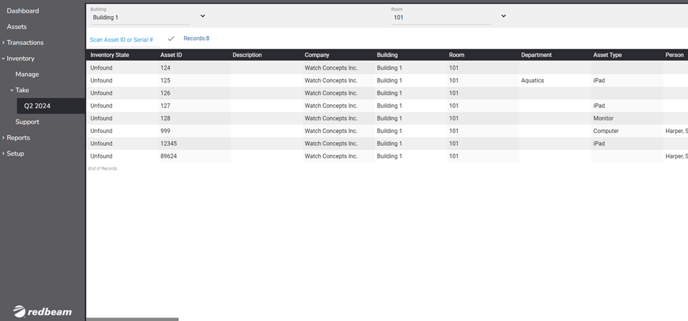
A user can type the Asset ID or Serial # of the asset or can use a barcode scanner to capture those values, which are case-sensitive.
Once entered or scanned, the asset details will display. A user can make any updates necessary to the Asset and then click Save to mark the asset as Found.

Continue to scan the next asset in the room and repeat the process until all assets found in that room are updated.
Once moved to the next room, change the room value to the new location and then scans the assets in the next room and so on.
If the asset was found in a different room than was previously assigned, a message will notify the user with the choice to update the Room value to the new room or to keep the previous Room value.

If the asset is new to the system, a message will notify the user and ask if he or she wants to add the asset to the database.

For users implementing an asset tracking system for the first time with RedBeam, taking an inventory may be a good way to input initial asset data into the system. Often, new users will print out labels or order pre-printed labels, tag the assets with the labels, scan the barcode, and enter the asset information. This process is then repeated until all assets are tagged and entered in the system.